

Article Contents
Share this article


.svg)

Shopify is a huge platform to kick start your business and make big bucks. You're probably not a professional web designer, right? Hence, Shopify provides all the necessary tools to design your online business. But we know it can still be a bit tricky to learn all the features of Shopify. So, here are some important Shopify tips for beginners like you!
Buy a suitable domain to spread your market. Choose a theme that suits your business. Set up the website yourself or hire a professional. Create web pages with proper images, CTA buttons, product descriptions, and FAQs. Finally, publish your store online.
Sheesh. A lot of things to remember right? It sounds daunting, we know but don’t worry! We will explain them step by step! There’s a lot to cover so let’s get started!
Tips You Must Know to Kick Start Your Business in Shopify
Before we begin you must first create an account on Shopify. It gives a 14-day free trial so you can start with that. Provide your store name and email address. Now, the meaty part! Without wasting any time here are the tips and tricks you should know to kick start your business in Shopify. Let’s go!
Customize Your Theme
The theme is an important first impression of your online business! It sets out the overall tone of the products you will be selling. Shopify offers some free themes. It's not bad but we would recommend you to browse their theme store. Or, you can upload your theme that you made yourself or by a professional. It won't hurt to spend a little cash for huge gains!
So, to go to the theme settings, go down below the sales channels on the left side of your Shopify store main menu. Just below the ‘’online store’’ you’ll find the theme option. From there, you’ll see all the necessary information to upload, browse and edit your theme.
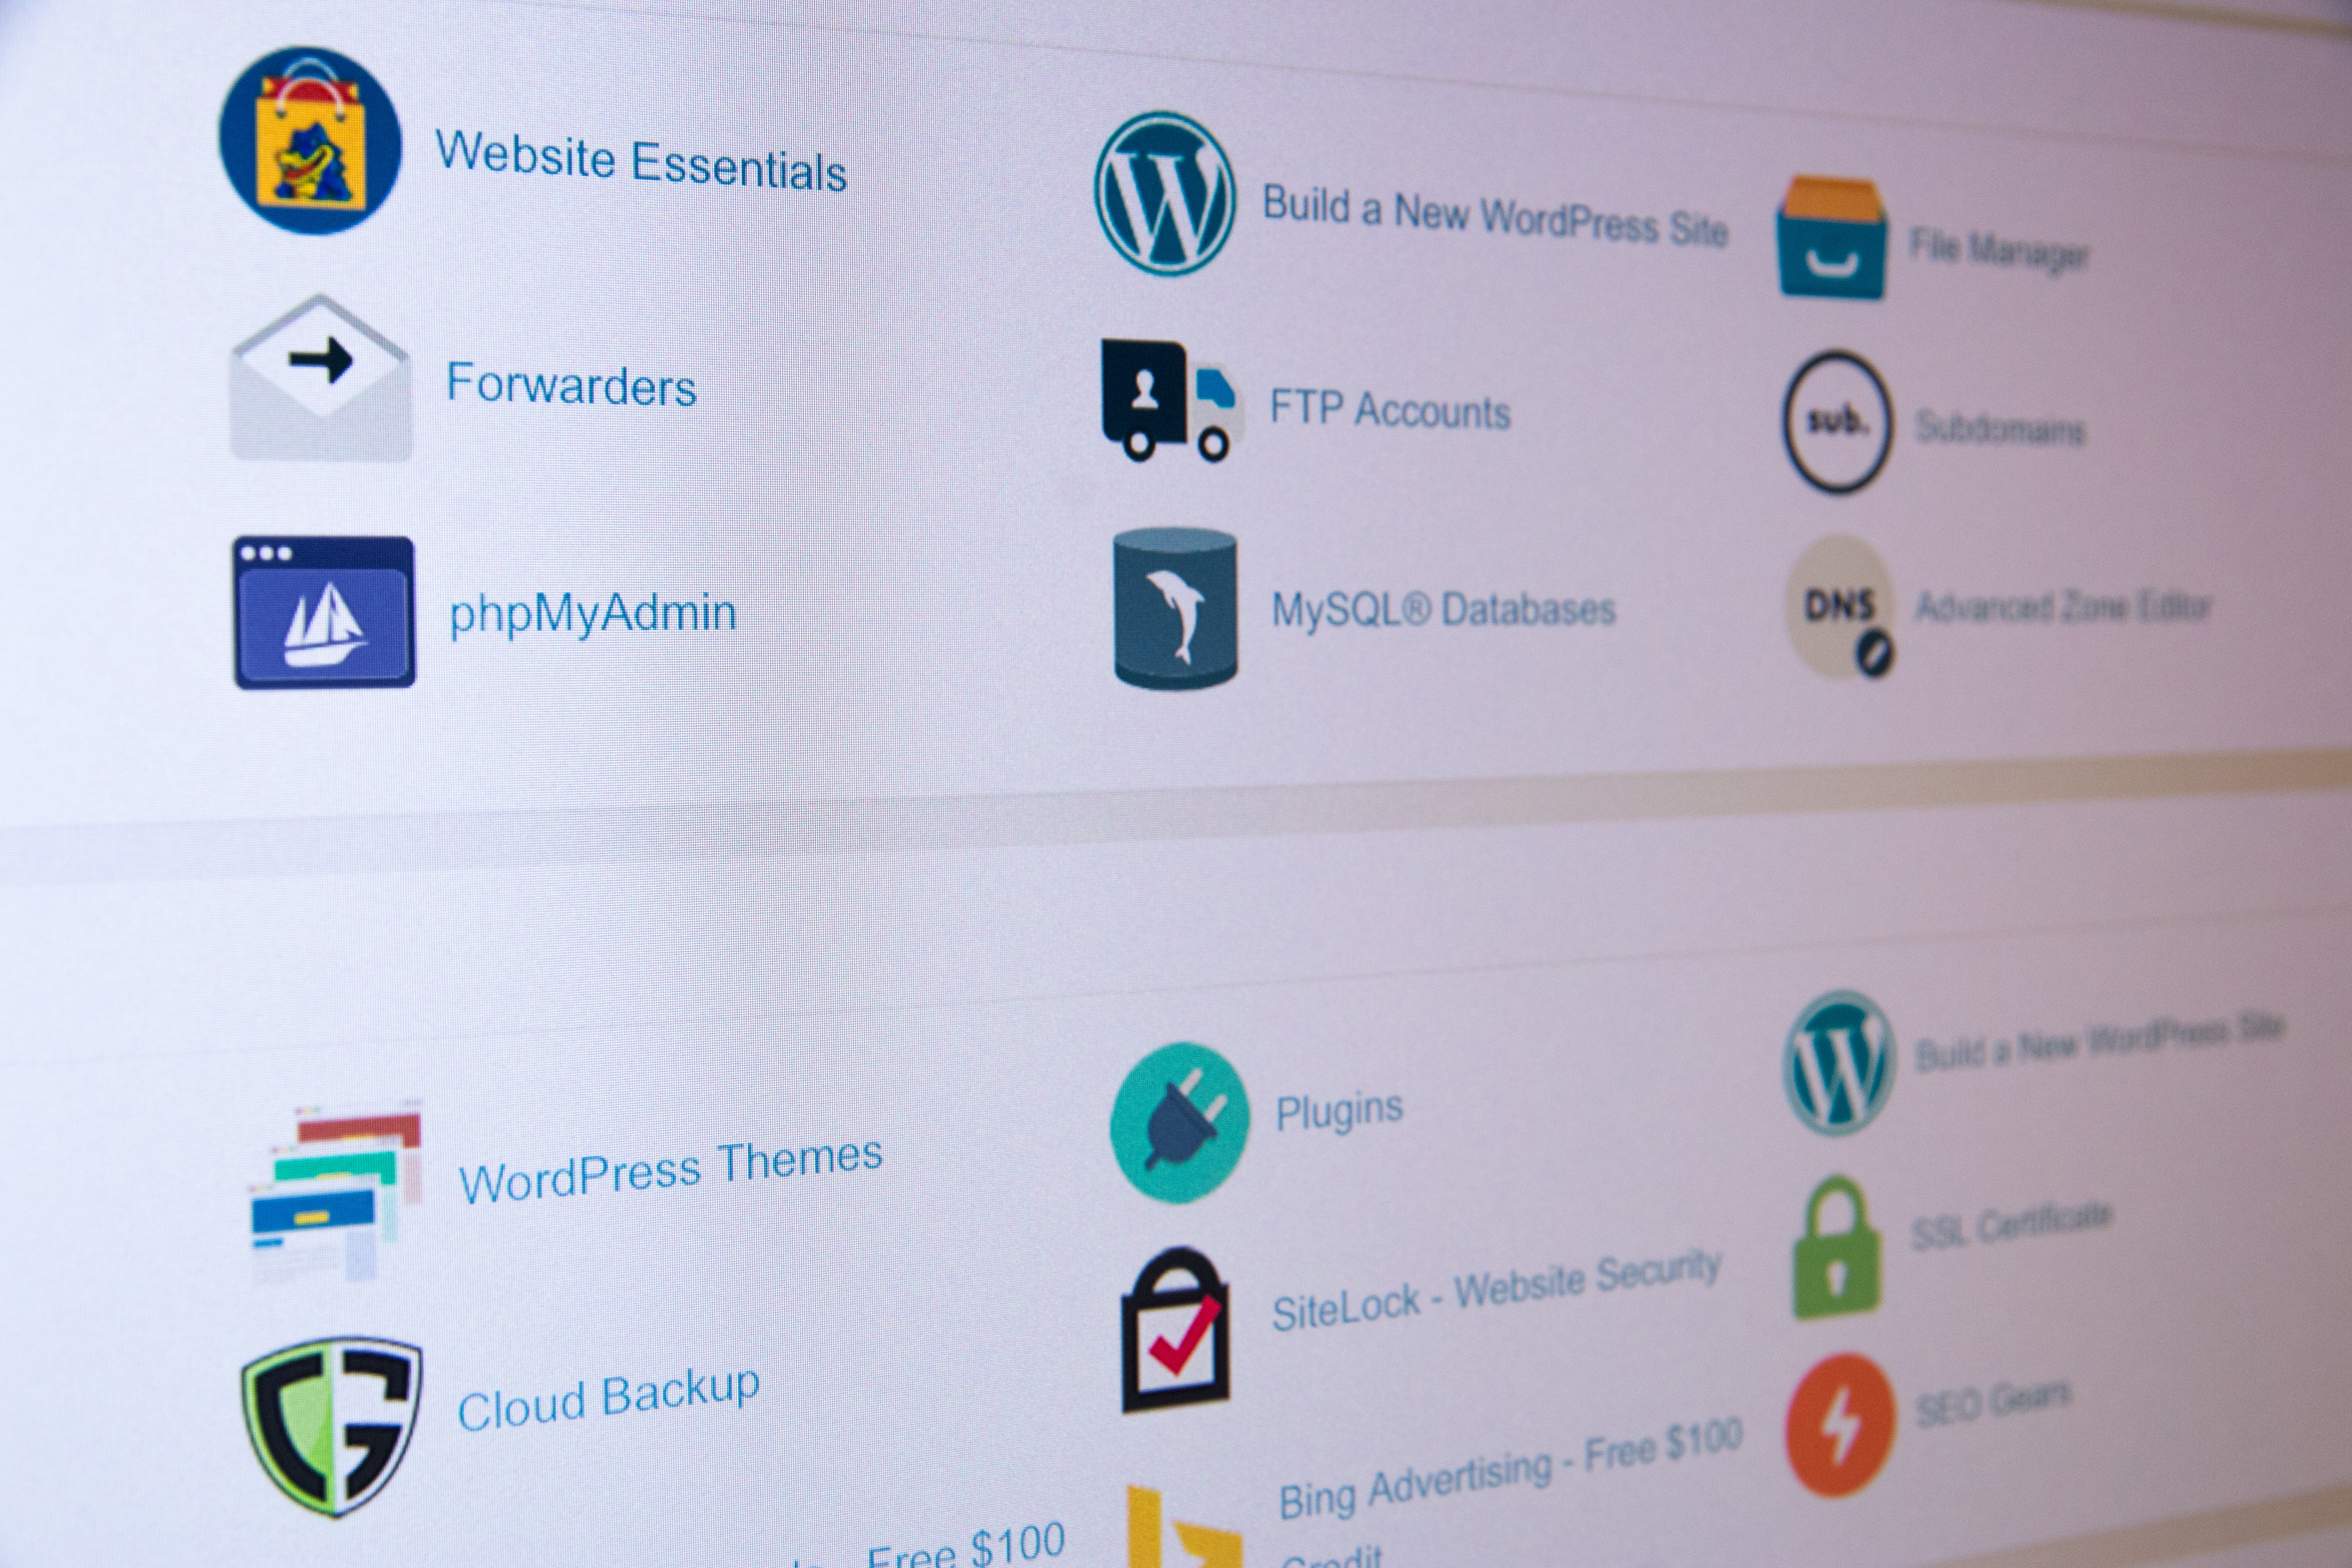
Add Necessary Details in Your Store Setting
Shopify will set up some default settings for you. Those are fine and dandy but I'll be showing you some nifty things you can do to further optimize your business. You can find the ‘’settings’’ option at the bottom left corner of your PC screen.
General Settings
In general settings, you can update your store name and email address. You can give two email addresses under ‘’Store name’’.
The ‘’account email’’ address is the one that you’ll be providing to Shopify in case they need to contact you. The other one is ‘’customer email’’ which is for the customers to directly email you.
Payment Settings

Complete your payment settings by accepting Shopify Payments. Shopify Payment is a built-in and secure system by Shopify so you get paid in due time after purchases of your products. In the ''Product details'' address yourself as the ''retailer'' of your product. In the ''state descriptor'' your customers will see the billing statement. Here, add your store or business name.
Fill out other necessary information and click ‘’Complete account setup’’. Shopify automatically sets up Paypal for you. But you should still check whether it is set up or not. If not, then set it up quickly. At the checkout, choose the ''accounts are optional'' setting to improve your traffic. Hence, it is better to give customers a choice instead of an ultimatum.
Legal Settings
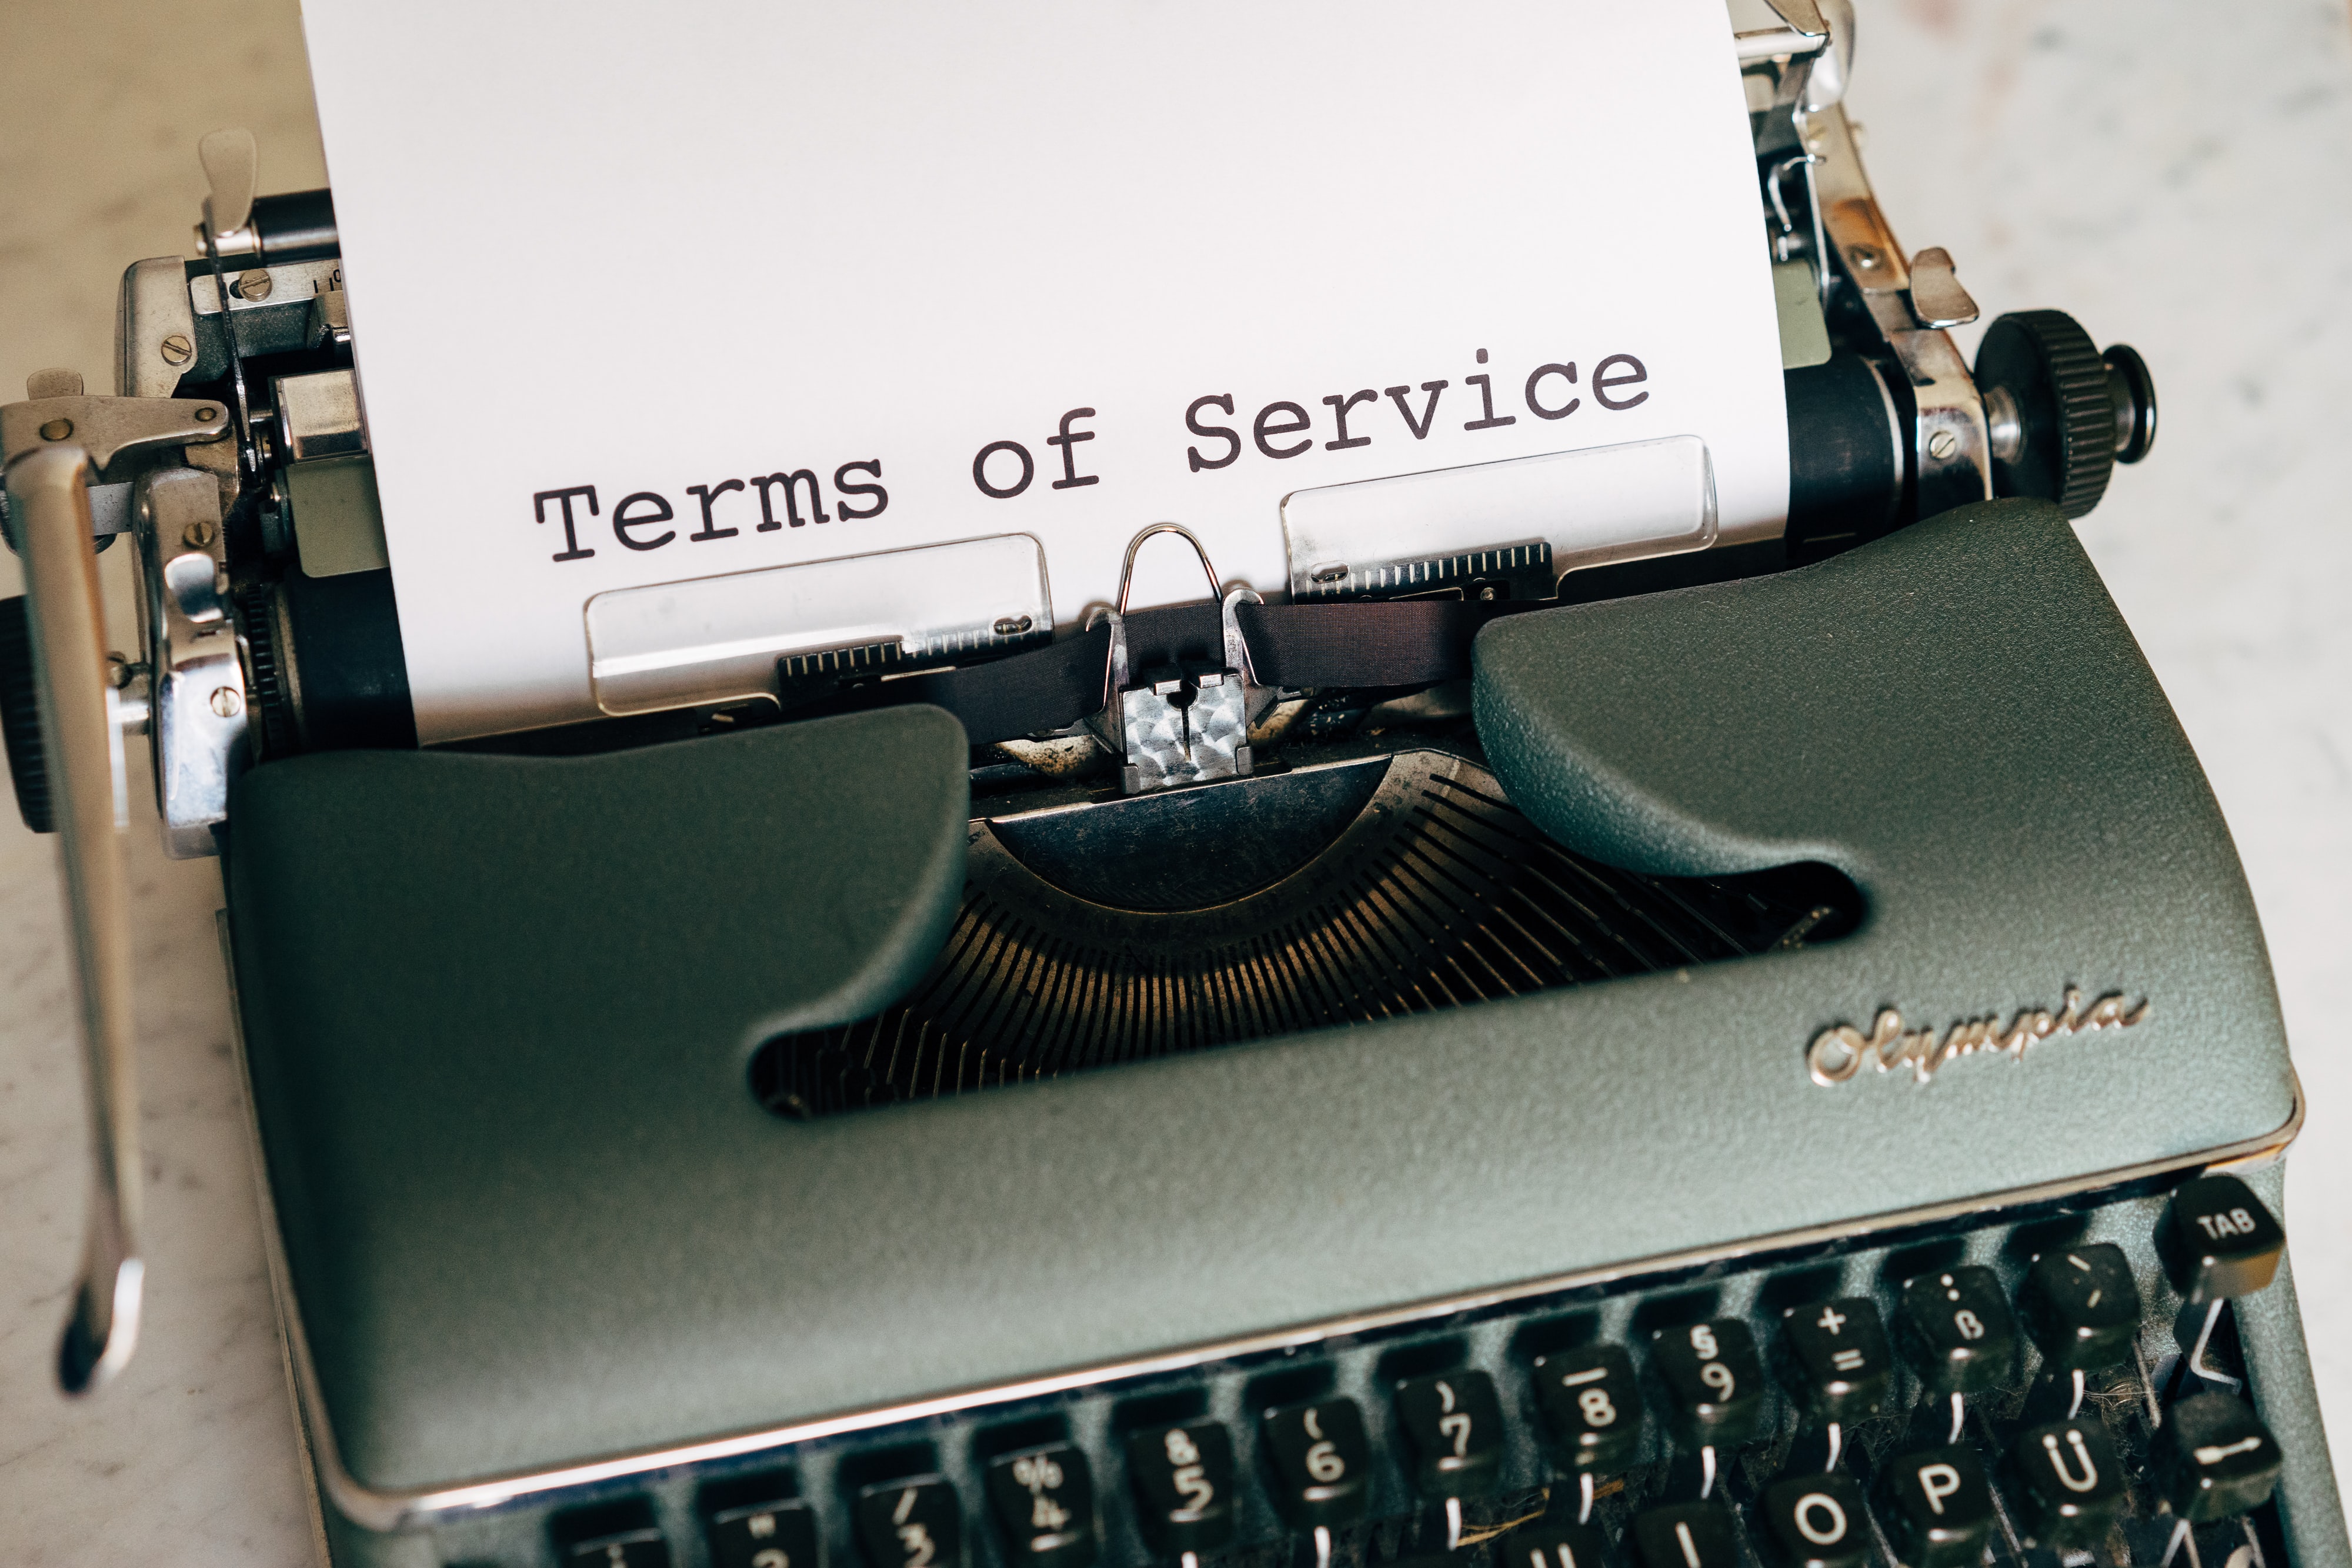
You must set up your legal settings carefully. Shopify can create base terms, conditions, and legal policies based on your store settings. But it is better to come up with your own. A refund can be one of them and you can address the details and time in your ''create from template" buttons under each section.
Then copy-paste it to the web pages you will create. Simply go to the ''pages'' (under sales channel) option and copy the entire policies from a new tab and then paste them on each web page.
Give a proper title like ‘’Refund policy’’ or ‘’Terms and conditions’’, depending on the topic. Remember to always click ‘’Save’’ after each page. So, always remember to calibrate your legal settings
Shipping Settings
At ''shipping settings'' you will ideally see three types. Price-based, weight-based, and calculated rates. Price and weight-based are self-explanatory. The shipping cost depends on the price or the weight of the product. Calculated rates are rates that you can add from your shipping carriers and apps. So, they can be adjusted through percentage or a flat fee, covering handling costs.
We would also suggest giving free shipping on some special products. You can also do the same for inexpensive products which are like 50 or more dollars. That way, you can earn more leads and improve your traffic count.
Preferences (Very Important)
This is a separate setting that is not under ''Settings''. The previous ones were so keep that in mind. Preferences give the Meta title and meta description of your online store. You generally see these sites and stores on the Google search engine as a notable title followed by a description below it.
The max length of the meta title should be about 60 and not more than that. For meta description, it should be about 150. The title has to be eye-catching and to the point. Avoid putting anything unnecessary at all costs. Remember to remove the password as customers won't be able to see your store then.
And that’s about it when it comes to general settings and preferences. We hope you’re still with me! It looks tough, we know. But be patient. Things like these take time and effort. But the fruits of your labor will be sweet!
Do Not Use A Free Domain
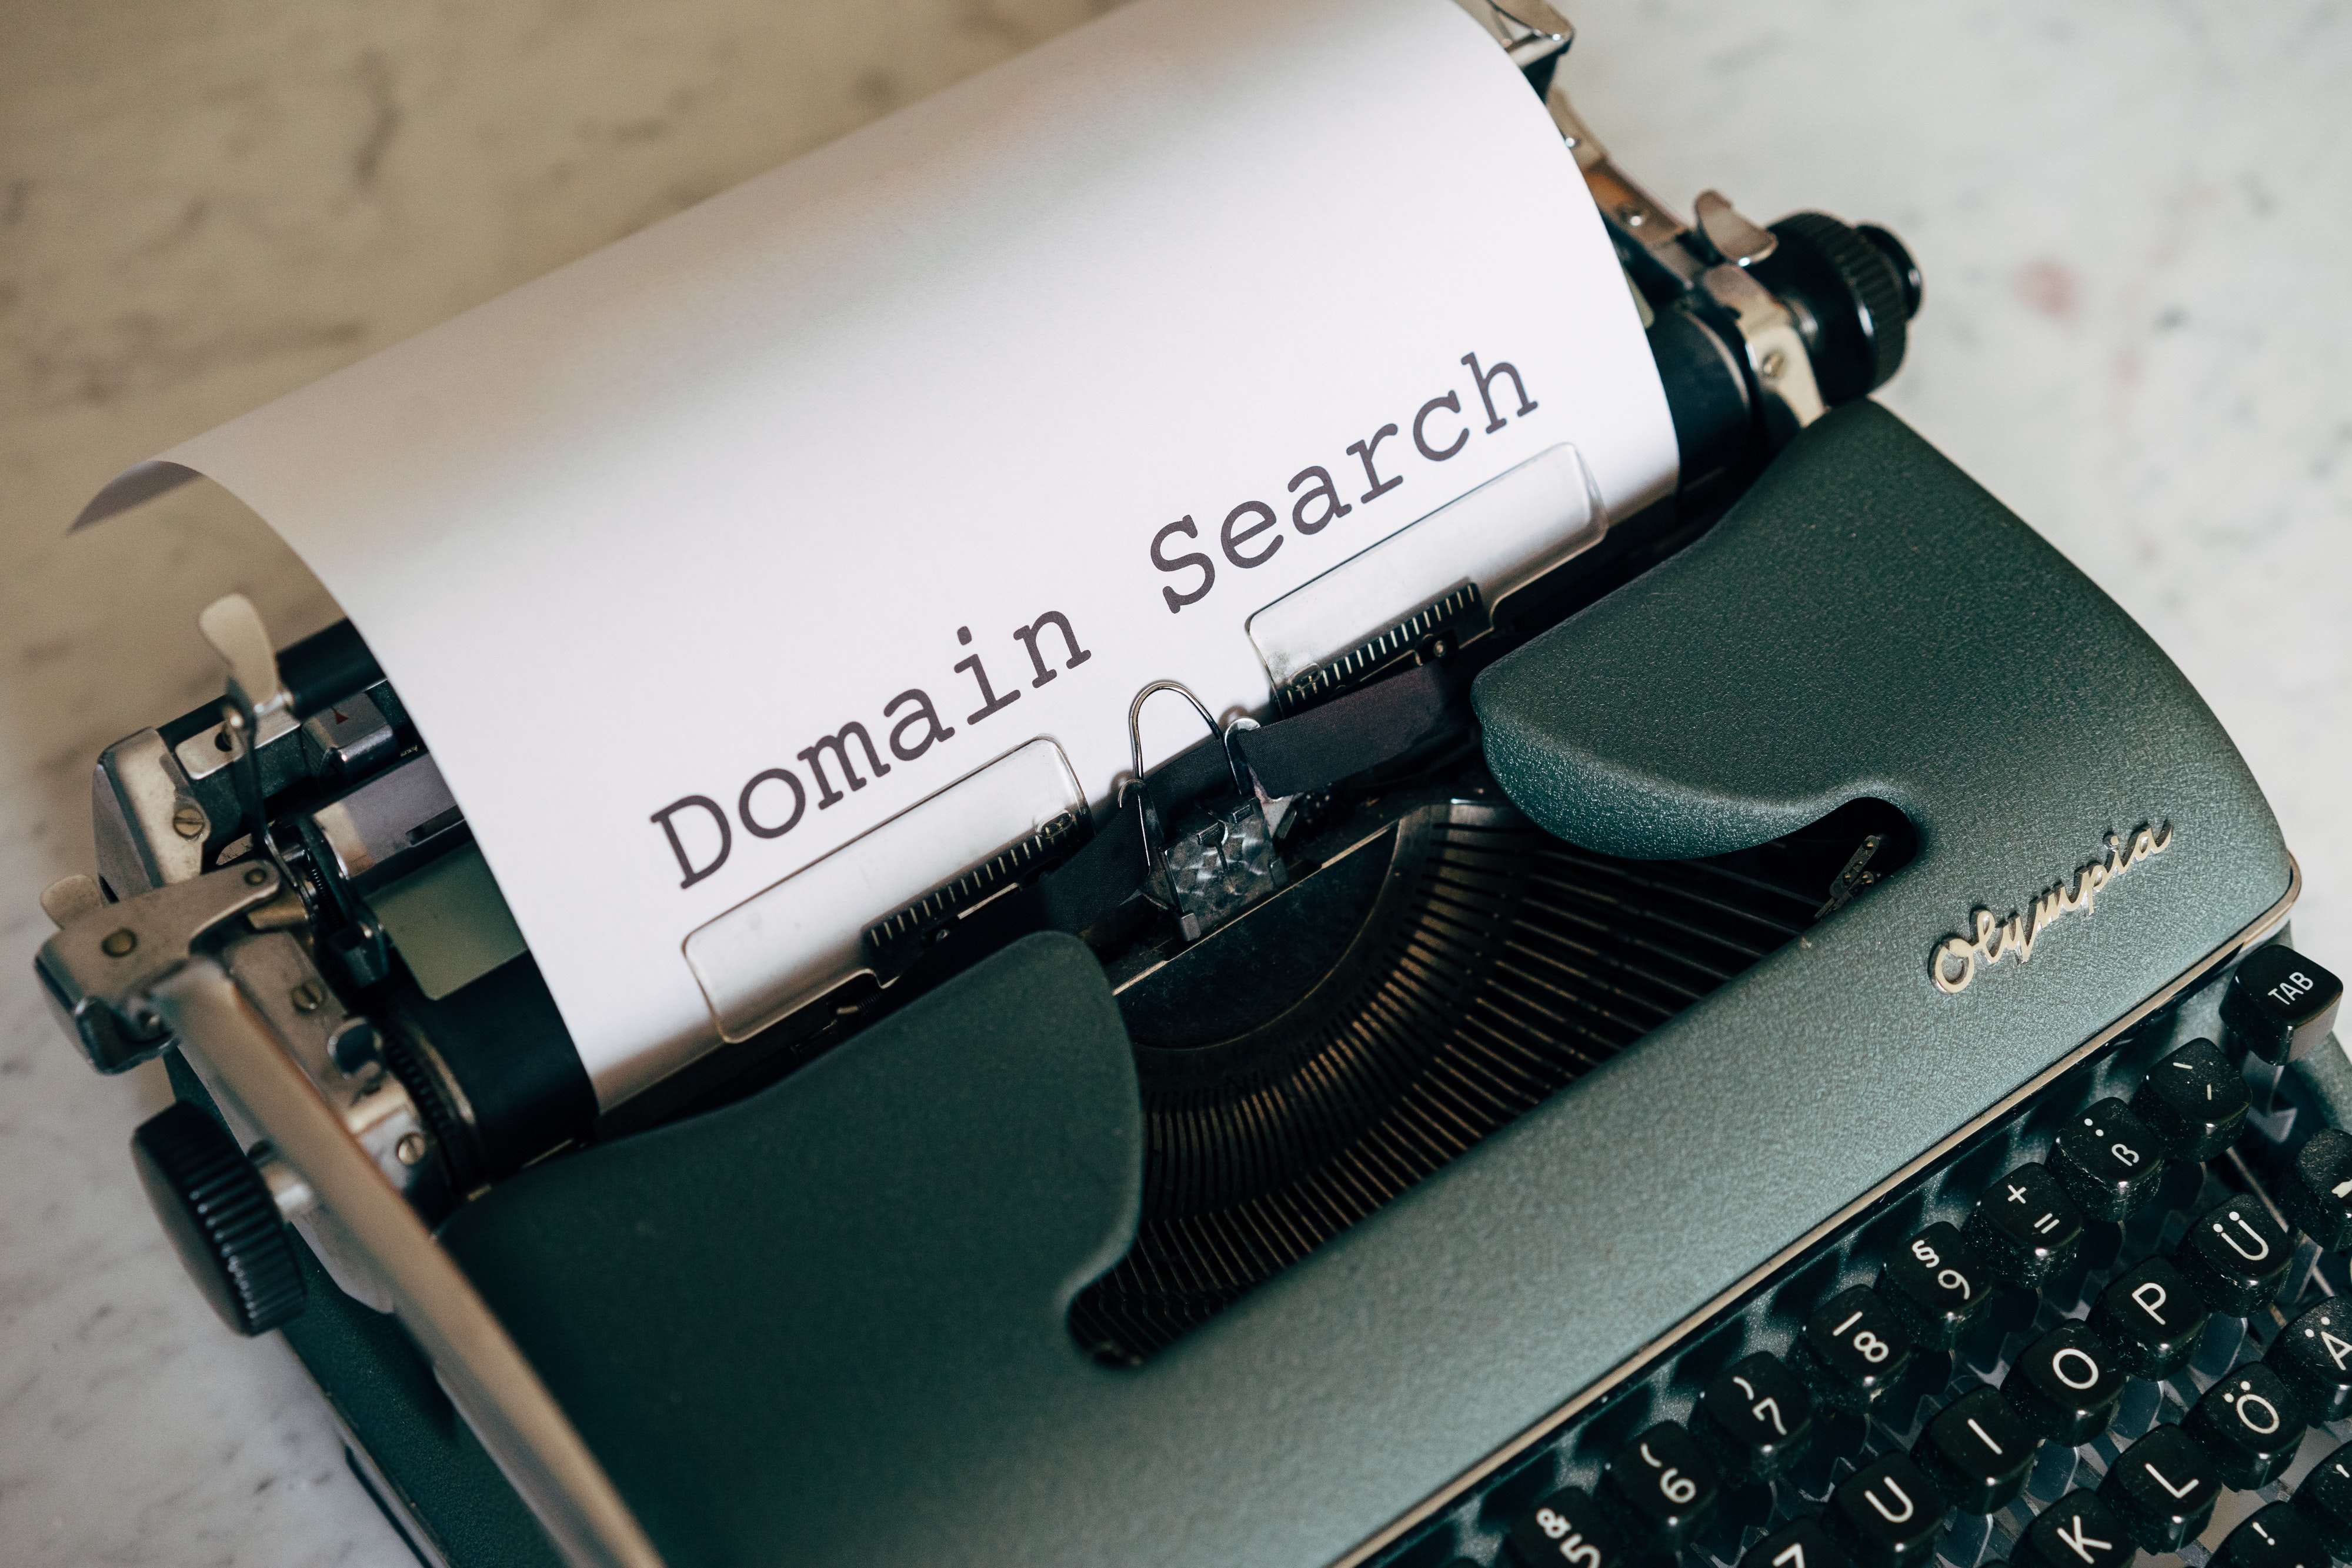
Shopify usually gives you a free domain to set up your online store. For example ‘’somethingstore.myshopify.com''. This looks very bland. It won't give you the traffic and leads you to want to. That's not how you build a brand.
To expand your store, first of all, you need a nice store name. Keep the store name unlimited, you know. Like, don't confine it into a singular product (e.g. Lover chocolate biscuits). If it's ''Simply Chocolate'' then it can be anything and won't be confined to just biscuits only. Maybe not the best of names but you get the point.
You can buy a domain for like 20 to 50 dollars a year. So, if you want to see your business boom in the long run, definitely buy a domain of your own. You can then upload it on your Shopify web store. Buy domains from popular sites like GoDaddy or Namecheap to get good deals. You can also buy new domains from the Shopify store. Follow these simple steps:
- Go to ‘’Online Store >Domains’’
- Click ‘’Buy New Domain’’
- Type the domain you wish to buy
- The prices will be listed in an ordered manner. Available extensions options would be (.com or.biz), country extensions (like.ca or .uk), and exclusive extensions (like .blackfriday) are available. Prices vary. That’s why we would suggest buying a standard one for a small early business like yours.
- Finally, click buy and your new domain is ready to use!
Adding Products Your Store
Below the home tab, you'll find the ''Products'' option. Here you can add all your products. If you want good sales then optimize your product title and description properly. First, describe why customers should get this product. They don't care why or how it is made. They only care about the benefits.
Add lucrative images along with your product. This is very important. No matter how good the product might be if it doesn't look good in the picture, it's going to suck. You can use your high-end mobile phones for a decent picture. But if you have ample cash then hire a professional photographer.
These guys will ensure that your products have that wow factor. Make sure you place your products on a suitable surface. If your products are food and clothing then you should put more emphasis on photography.
Add Suitable Pricing

Charging suitable prices for your products will help you get more sales. For this, you need to check other shops. Check the ones that sell products similar to yours. Your pricing also depends on your shipping and inventory costs.
Normally when it comes to pricing you see decimals on the price. That way it looks more good on the website and people get the idea of discounts in your store. 27$ or 26.99$? Which looks good? The latter one.
You can also add variants to your products. This is where you can include the size, different colors, and designs of the same product. Don’t forget to add the meta title and description for your products. These are important as the customer’s eye will catch first at these titles. You can also have a preview of how your product title looks on a search engine (Google).
Make a Collection

There are two ways you can create your collection. Manual or automatic. In the manual system, you can add your products by clicking the collection and then searching for the product under the ''Product'' section. Then select the products you want to add.
Alternatively, you can automatically add products through the ‘’automated’’ option. This is done through product tags. If you create a tag {e,g, chips} then all of the products you’re going to add will automatically go to the ‘’chips’’ tag. Similarly, other products will be added by the same method.
Set Up Google Analytics
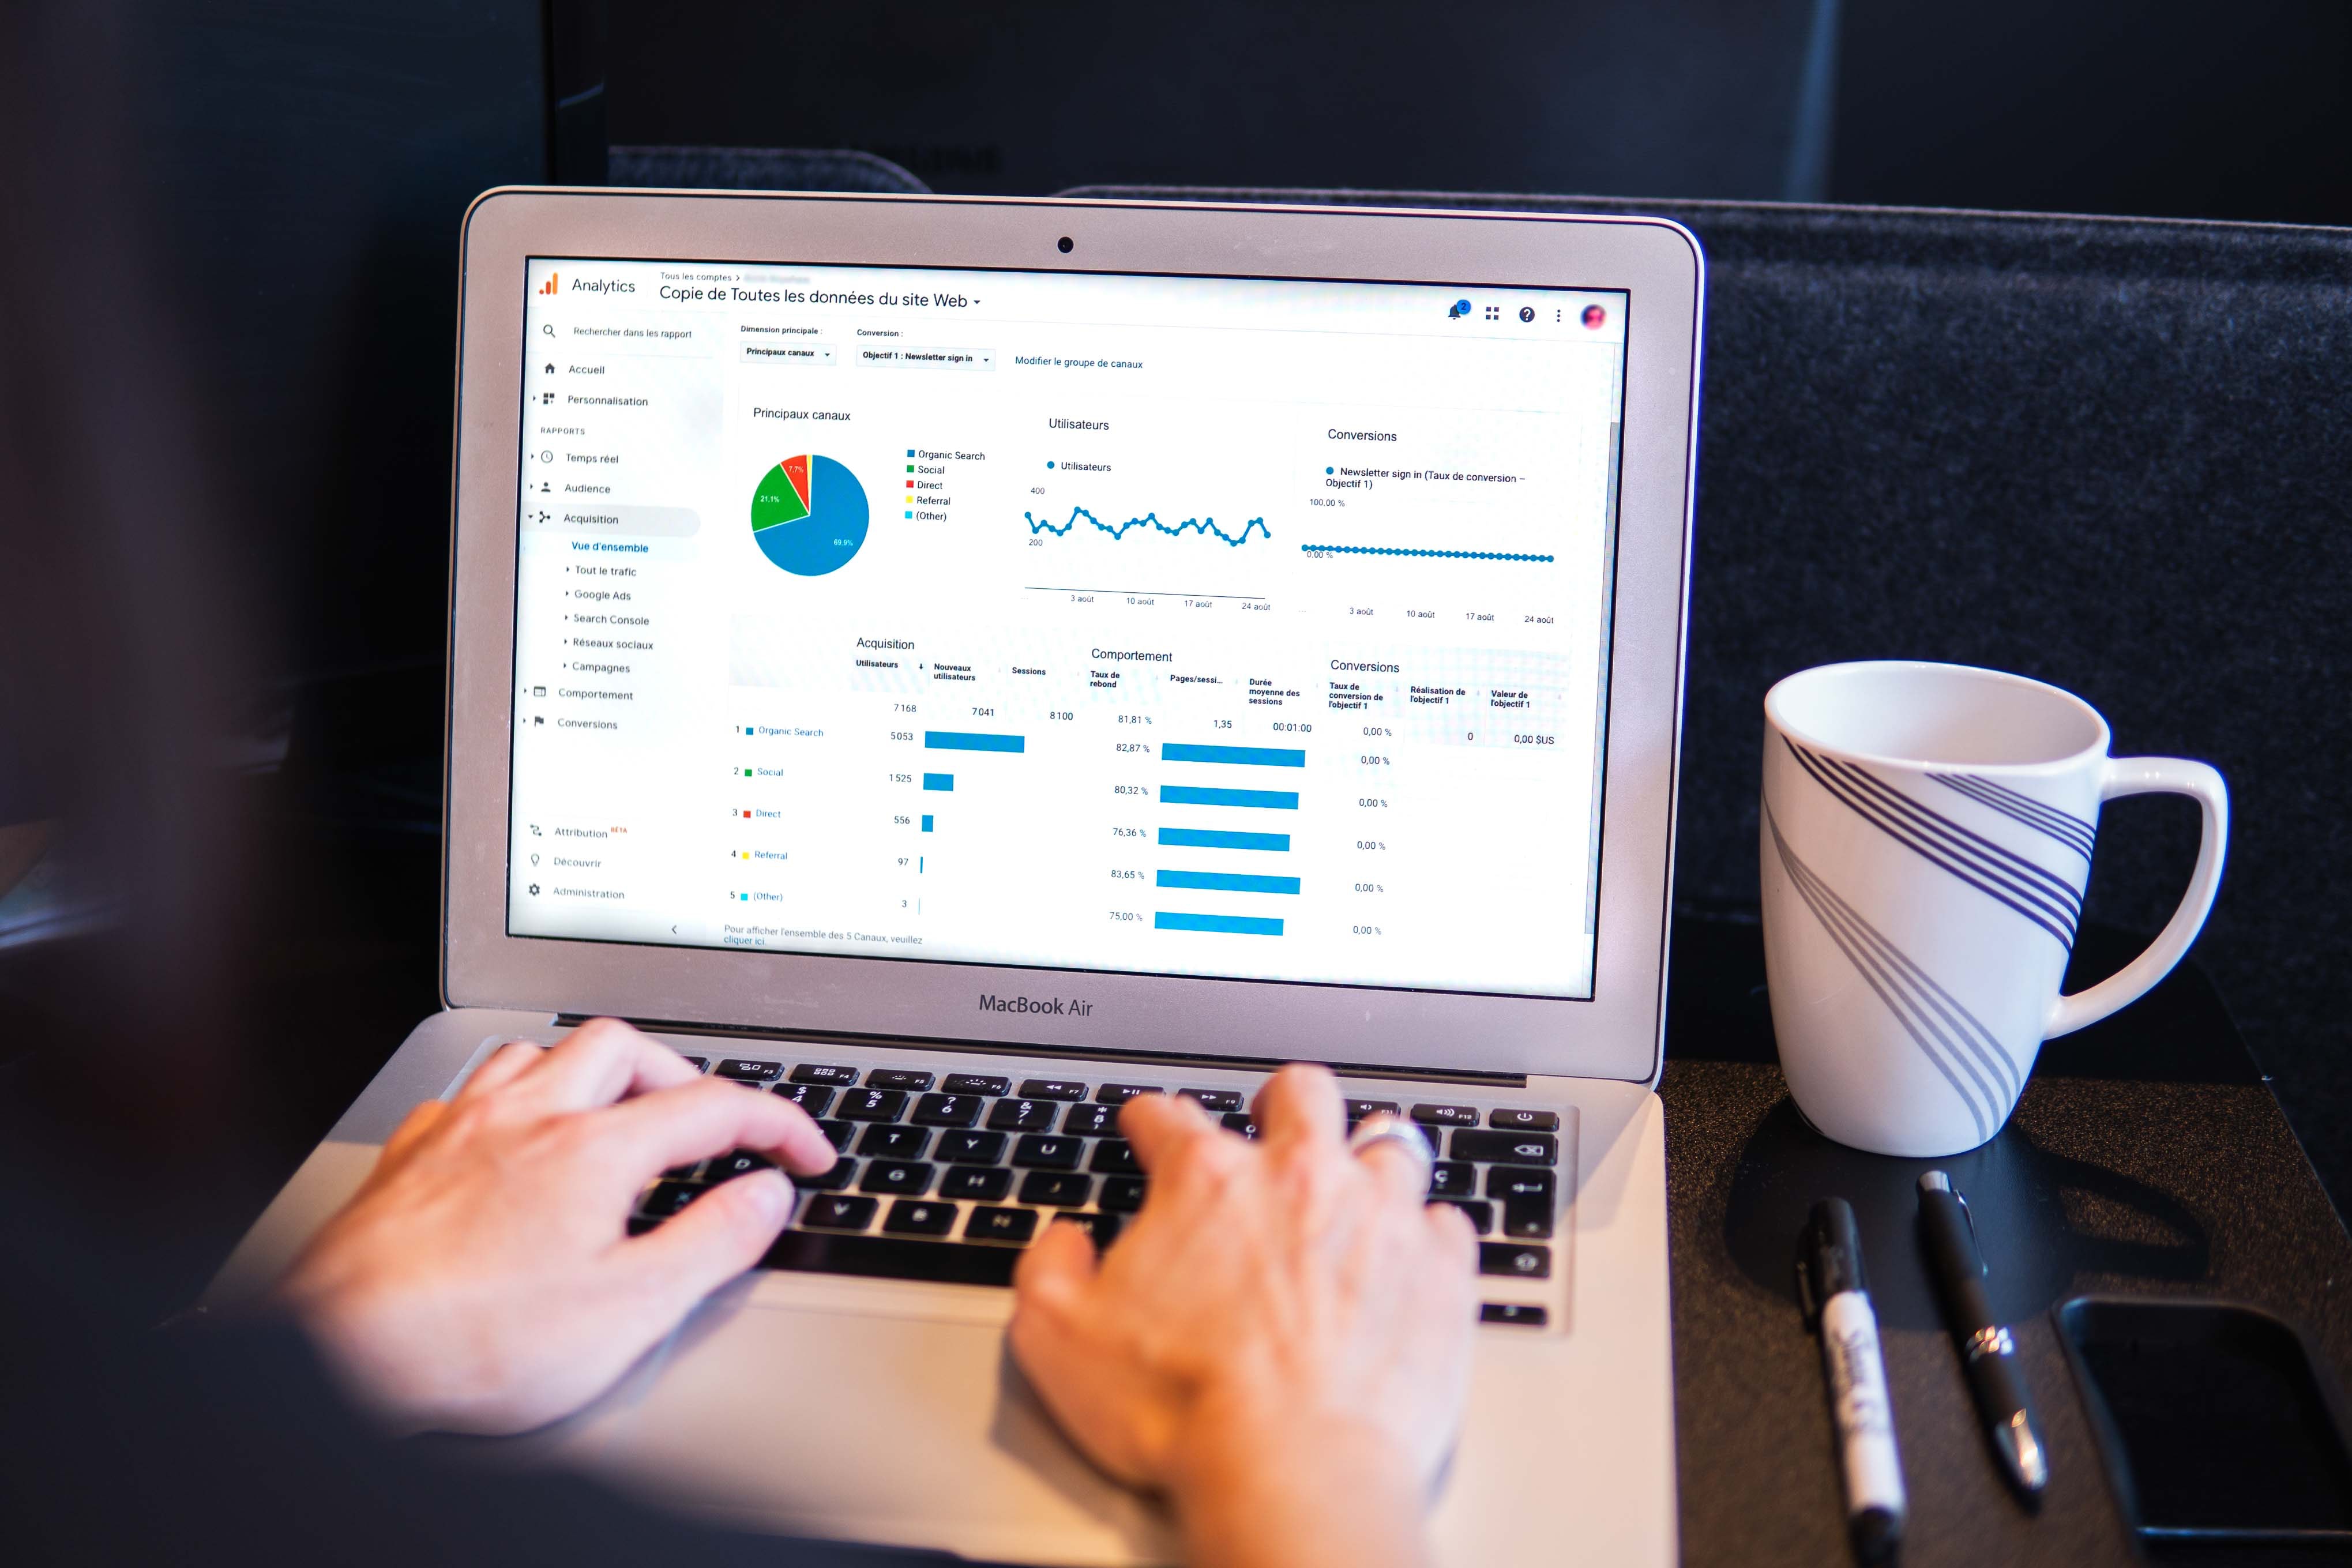
Google Analytics is an app you must have. It is the ideal tool for beginners like you. Google Analytics gives you all the analysis you need to optimize your business. Here you can see how much traffic your store is generating, what products or pages your customers are viewing and buying most, total profits, amount of revenue, return on investment, revenue per visit, average order value, and more.
So, you probably know the situation where many customers leave the website at the checking-out stage. Google Analytics shows how many customers did exactly that. You can find that hidden barrier as to why you're not getting that final click.
Understanding the psychology of your customers is essential for being an efficient entrepreneur. That way you can find solutions to them. Hence, Google analytics is truly a marvel to have. If you want to know how to add Google analytics to your Shopify web store then click here.
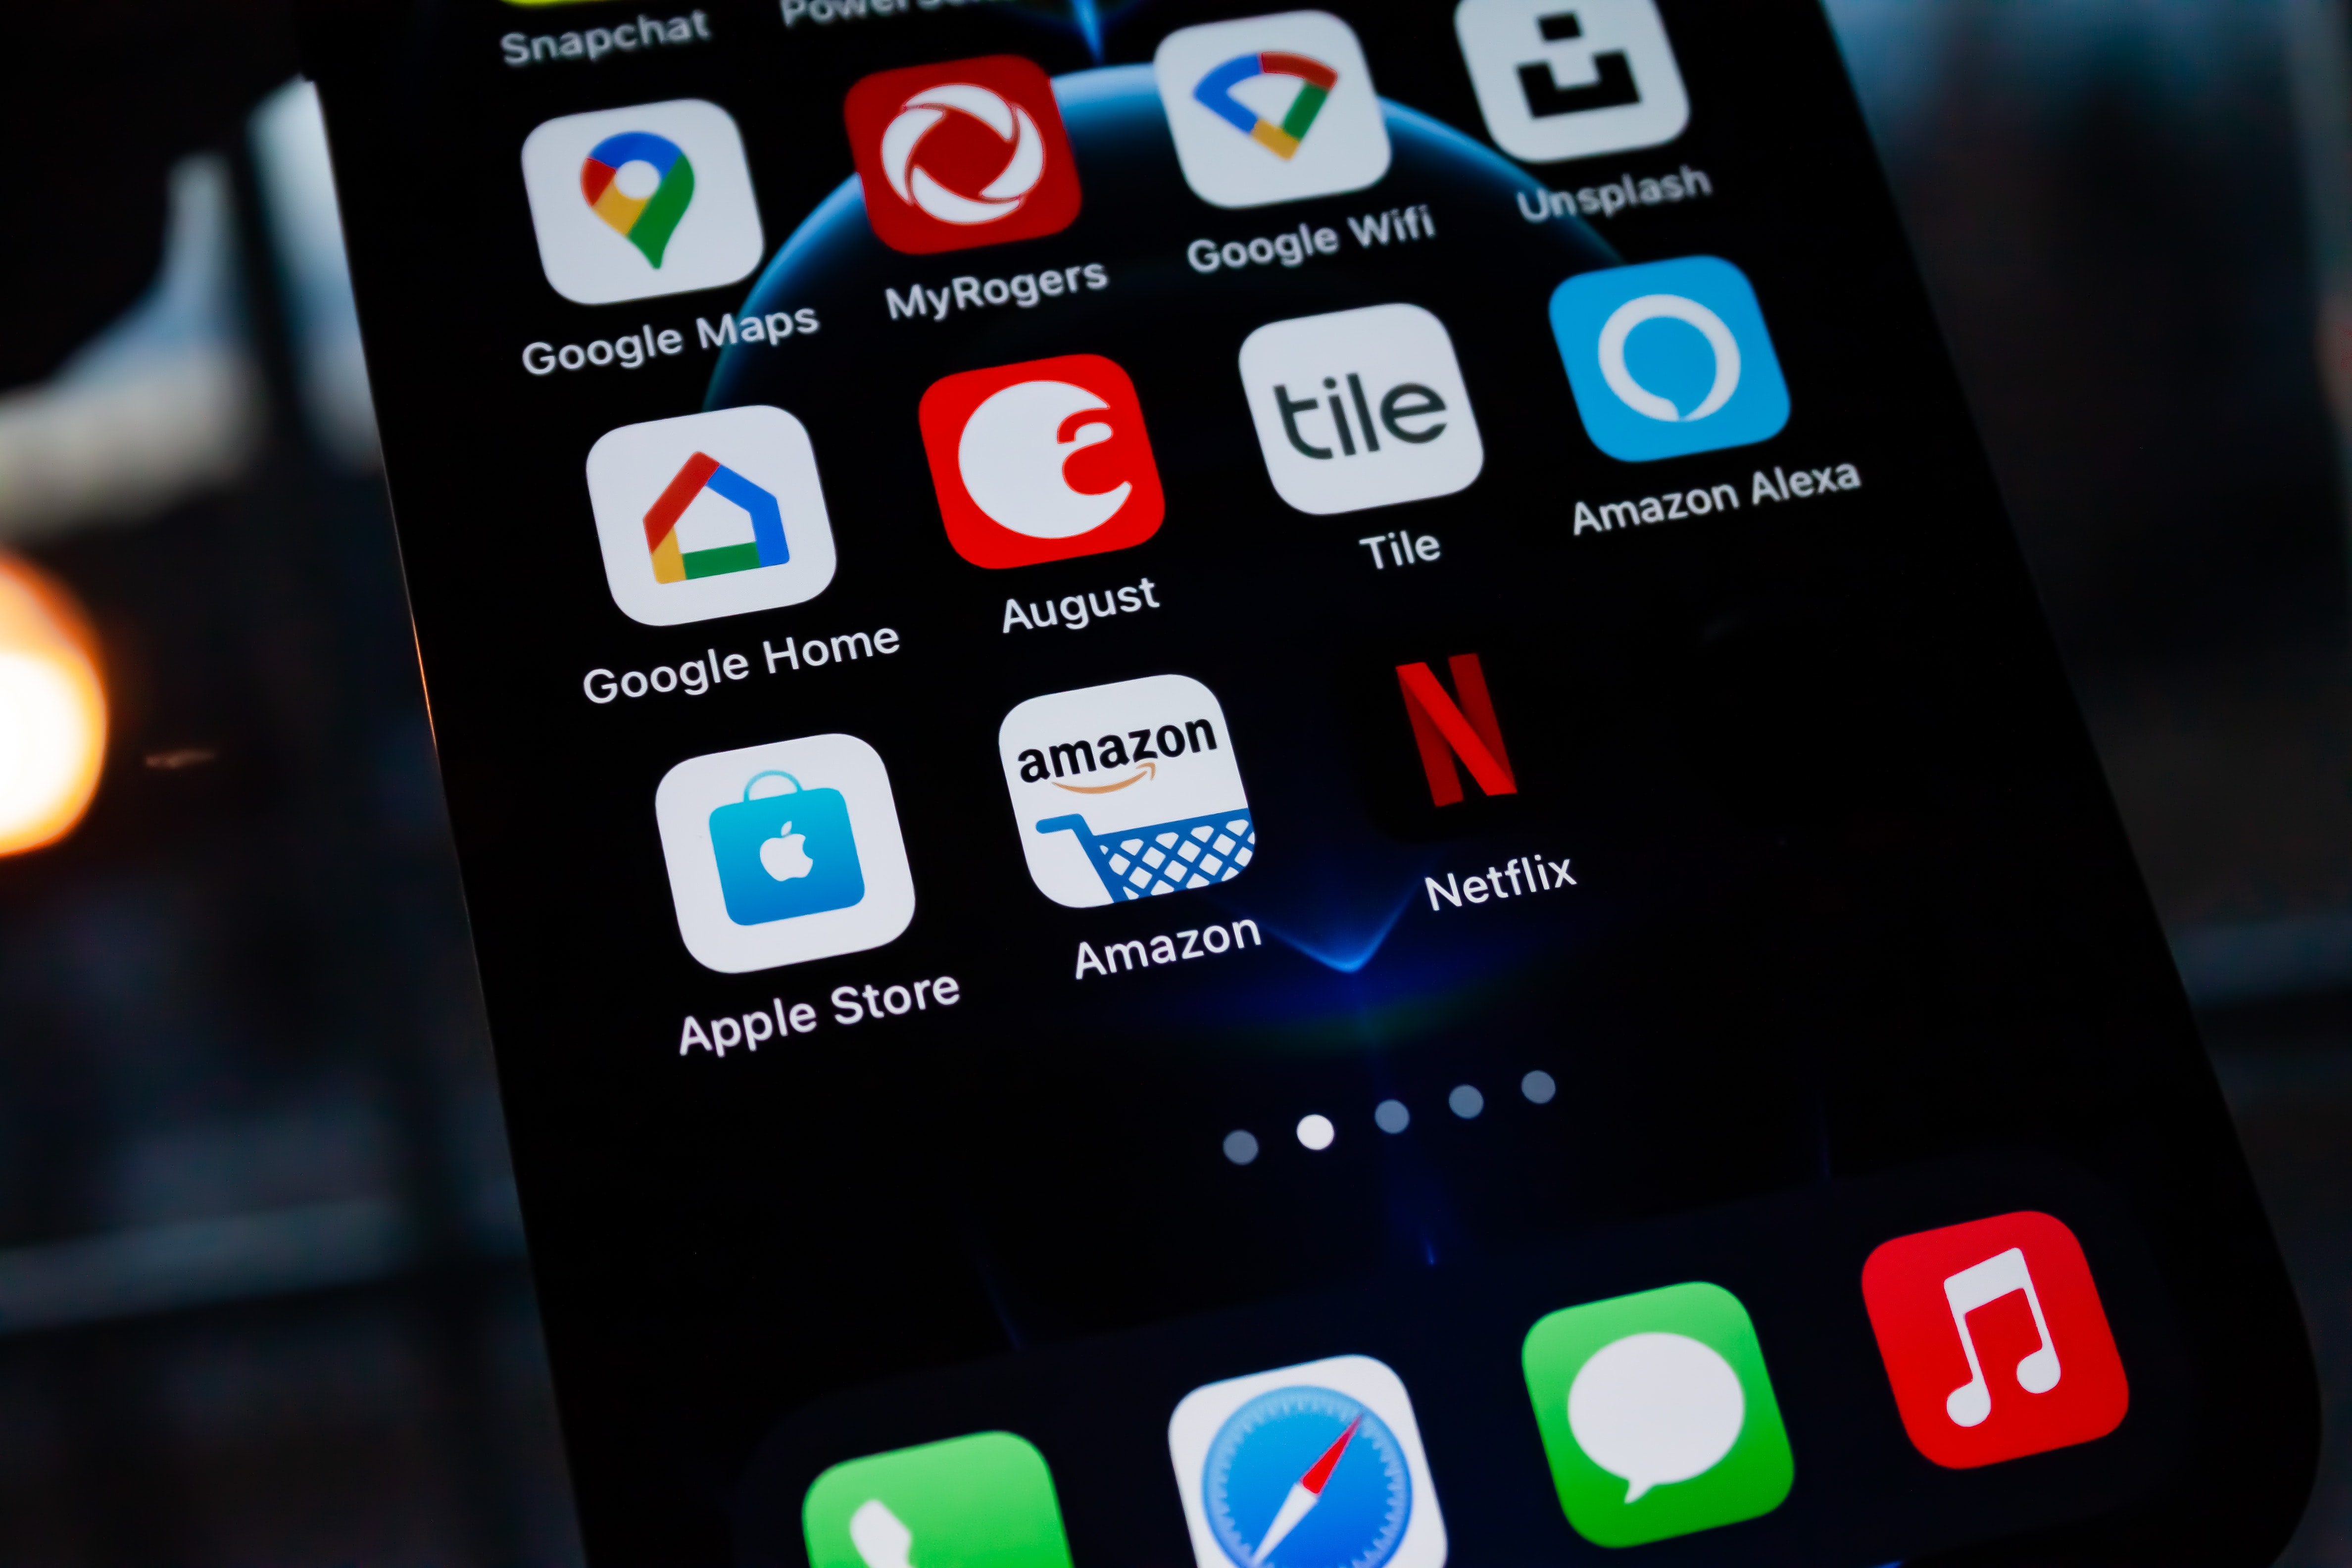
Other Essential Apps

You can add hundreds of apps to the Shopify store. It gets overwhelming, we know. Hence, we are here to recommend some that will help the early stages of your business.
Facebook: You can add your Facebook business page to Shopify. Creating a FB business page is simple. You can customize tabs and CTA buttons to directly link your Shopify website. Customers tend to buy the same products on multiple platforms. Use that to your advantage. Also, you can do something similar on Instagram.
Crush.pics: Use this app to compress your image files. Images take the most of your website and make it slow.
On average, customers leave websites if they take more than 10 seconds to load. So, with the crush.pics you can rest assured. The app will automatically upload high megapixel pictures, speeding your site and saving loading time.
Sumo: You want decent sales from the get-go? Get sumo. Sumo has decent packages to make your website optimized for email marketing.
If any customer browses your store, they keep tabs on them. Then they send personalized emails and deal that piggyback to you. You'll be surprised by the amount of increase in sales.
Yotpo: What compels customers to buy? Especially when they are indecisive? Reviews! With Yotpo you can do exactly that. New customers look into the review section of your website. Make sure you get genuine reviews. Don’t do those explicit things. They will ruin your long run.
Reviews attract more people and in return generate revenue. You can also give sample giveaways to earn some reviews to start your business journey! So, get up now and add this app!
There are other apps too but I’ll stop here. Learn how these apps work first. Use them efficiently and go from there. Good luck!
Add Sales Channels
Why confine yourself to just Shopify? When Shopify itself promotes adding other sales channels, you’d be a fool not to add them.
Many third-party websites like eBay, Amazon, Google, Messenger can be added. They are free to add but charges may apply on a revenue basis. So, keep that in mind.
Test Your Website on Mobile
.jpeg)
Is your Shopify store optimized for mobile devices? No? Then you’ll lose a lot of potential sales. After setting up your Shopify store, preview it using a phone or tablet. You’ll see that the carousels are not properly aligned. The call to action button might be too small. Too many words, images look blurry and bad. So, it is imperative that you:
- Make the CTA buttons bigger
- Show as little texts as possible
- Clear and bigger images
- Reduce popups
- And optimize for different types of screen ratios
Finalize the Appropriate Shopify Plan
Shopify comes with three plans. Basic Shopify, Shopify, and Advanced Shopify. The prices are 29$, 79$, and 299$ per month. All the Shopify plans include free setup, limitless product uploads, online and phone support, and no extra charges for using their payment system (Shopify payments). All the plans include free website templates and apps and a bunch of paid things too depending on the plan you opt for.
So, we would advise you to start with the Basic Shopify plan as a beginner. Know all the aspects of Shopify and get acquainted. If you’re getting decent revenues like 20000$ a month then you can go for the higher budget plans.
As that’s it! The necessary tips you’ll need to earn those greens! We know it’s a lot but as we always say. Don’t. Be. Scared. Learn things with time. Accuracy is key.
Consider Affiliate Marketing To Jump Start Your Business
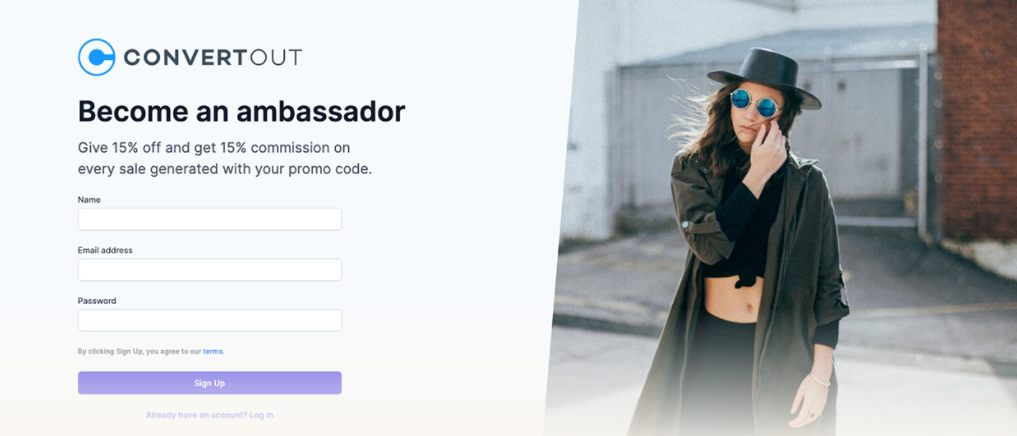
Affiliate marketing is a system where partners promote your products in exchange for a decent commission. A customer or industry marketer signs up for your affiliate program. Then they send potential buyers to your Shopify store. The commission depends on your profits or total revenue.
It is the most cost-effective method of marketing of the 21st century. Here you pay for every sale instead of every time your audience sees your ads in traditional marketing methods. It is risk free and is more likely to generate sales.
Our Ambassador Affiliate Marketing app makes creating your affiliate programs as easy as possible. Just create your program, create discounts and commissions for various tiers of affiliates and let the app handle all the rest. It will automatically monitor your sales and manage your affiliate program. It’s like putting your full program in auto-pilot. And it takes no more than a few minutes to set up.
Conclusion
Every business can succeed. But with proper planning and guidance. We’ve done the guiding part. Now, it is for you to use that knowledge and plan out your business. Hopefully, these important Shopify tips for beginners will help you start out your business.
Thanks for tuning in. And best of luck with your business endeavors.


Start your affiliate program today
Grow your Shopify store without an upfront cost.